Finally!
You know how me and 'free time' aren't really seeing each other anymore...
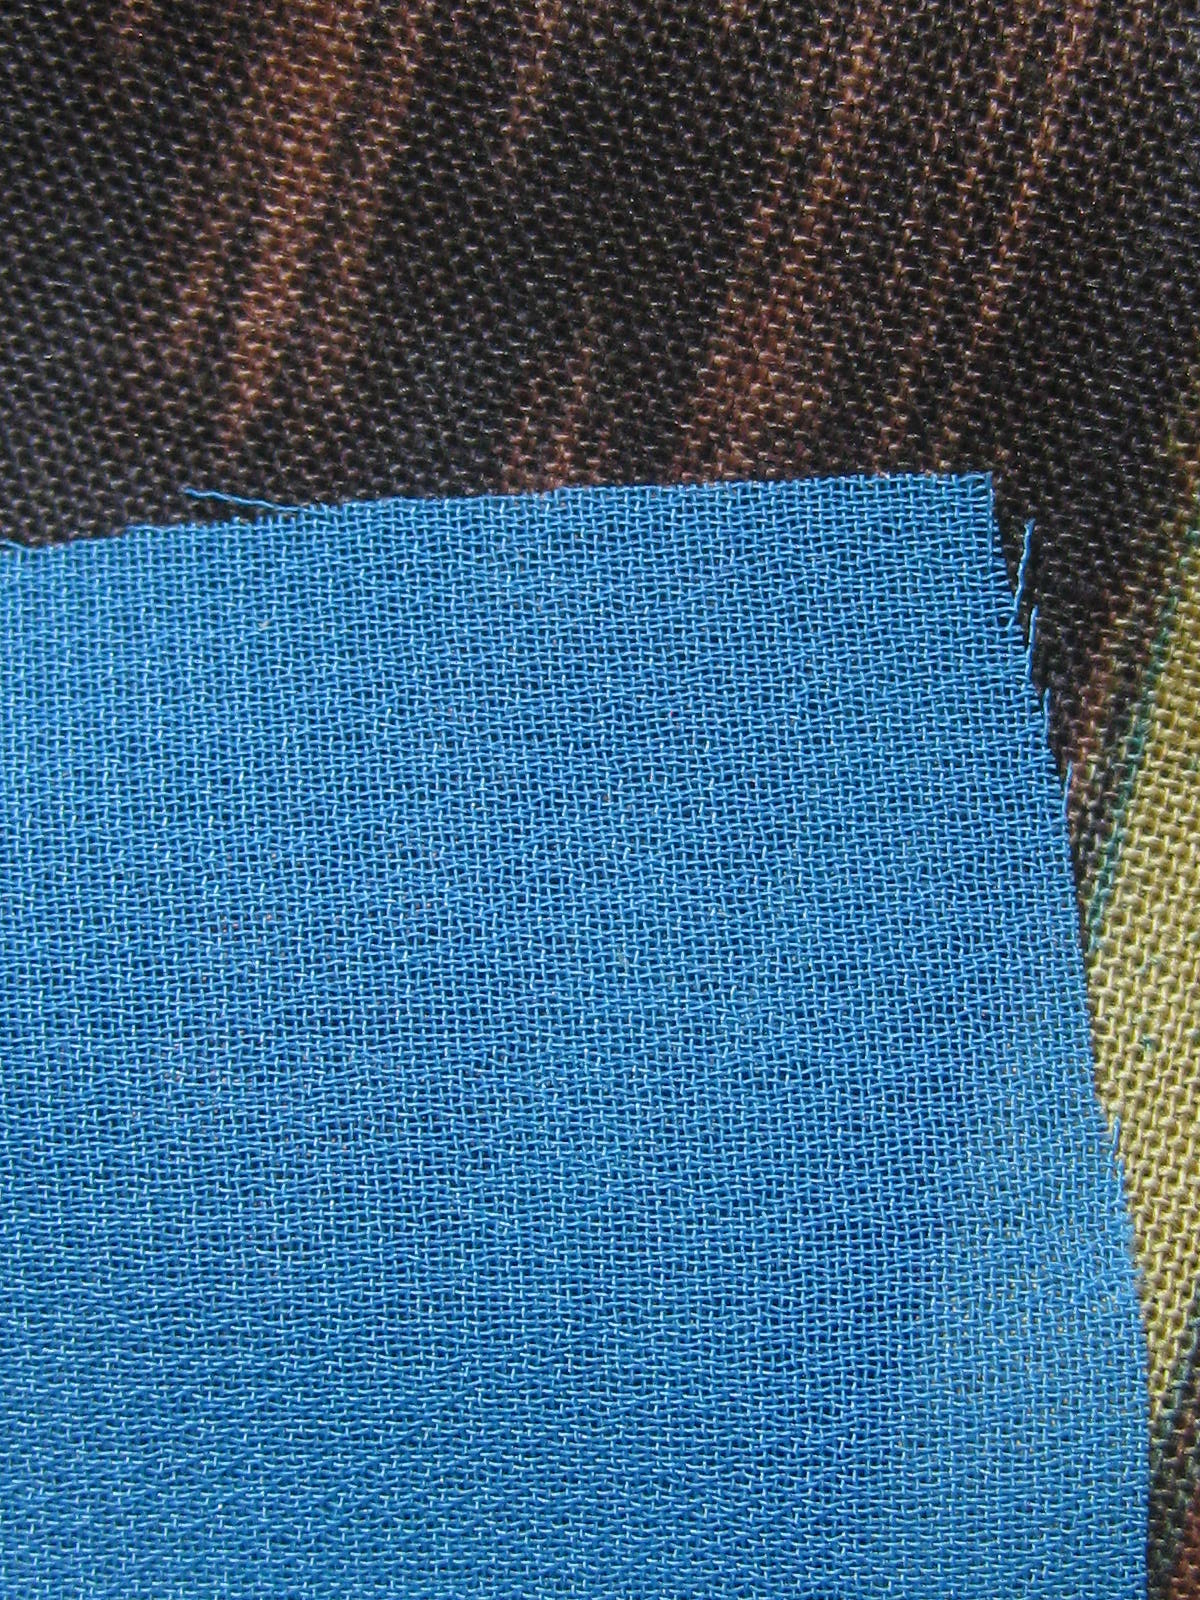
I'm going to do this tutorial using a polyester chiffon, just to show you that sheers can be done with minimal effort. Using fabric that sucks to work with.
I'm using teal in honor of my new (to me) '79-'80 Winnebago
You know how me and 'free time' aren't really seeing each other anymore...
I'm going to do this tutorial using a polyester chiffon, just to show you that sheers can be done with minimal effort. Using fabric that sucks to work with.
I'm using teal in honor of my new (to me) '79-'80 Winnebago
The craft palace has been overrun with Winnebago parts in need of a good sanding/priming/painting lately:

(So. much. orange. shag. + (former) rodent infestation = you can imagine)
That's why this post was so delayed. I had to scrub the damned RV so I could quit D-heaving.

(So. much. orange. shag. + (former) rodent infestation = you can imagine)
That's why this post was so delayed. I had to scrub the damned RV so I could quit D-heaving.
Priorities.
Aaanyways, I'ma show you how easy these window treatments are to make. They're a no-sew project, which I'm pretty proud of. And they require very little fabric, (obviously, they're 1:12 miniatures) but what I guess I'm trying to say is that you could get away with buying one friggin' fat quarter and still have material left for coordinating throw pillows. If you swing that way. There are a few specialty items/tools that you might not have unless you are also a scrapbooker. But these are relatively inexpensive, or could probably be borrowed from a friend. Without further ado:
You will need:
-Fabric of your choosing. If you're doing multiple windows (assembly line them, you'll thank me later), and make sure you'll have enough material for the room.
-Clear nail polish (preferably not rapid dry, or the applicator brush gets gummed up)
-Masking tape
-Ruler
-Writing utensil
-Scissors
-3mm Jump rings (non-soldered, any color, you won't see them in the end)
-1/8" hole punch (I think this was $5 at Michael's, but can't recall)
-1/8" eyelet setter (Also about $5)
-Hammer
-1/8" Eyelets, these are obviously the grommets. You'll want an even number per panel, but you can customize how many based on your panel size. You can find these in the scrapbooking section at almost any craft store.
And here's what you'll end up with.
As seen in prior posts:

I loved how I could use the gold fringe on the selvedge edge for the bottom of the panel. Deluxe.

As long as you're careful, you can use my method on even the most delicate fabrics. Sheers! (This particular pair hangs a bit better than my other sheers since I cut it on the bias.)


And even stiff, thick, rich menswear fabrics that you got for a steal as a remnant. Just about any fabric will work.
I got some great suggestions from some of you about how to make my panels hang more naturally with pleats and all, in the comments from the curtain rod tutorial. I can't wait to try them out, I think I'm going to experiment with all of them on different types of fabric and see what I like best for each (all the while taking tons of pictures and then posting about it, you know, eventually). After making these curtains, no doubt you'll want them to look more realistic. So I'm looking forward to pretending I'm back in my college chem lab,blowing mixing shit up. I'll let you in on the results as soon as I have them.
Until then, they'll probably hang like this...
 Wide load. Like me.
Moving on.
I got some great suggestions from some of you about how to make my panels hang more naturally with pleats and all, in the comments from the curtain rod tutorial. I can't wait to try them out, I think I'm going to experiment with all of them on different types of fabric and see what I like best for each (all the while taking tons of pictures and then posting about it, you know, eventually). After making these curtains, no doubt you'll want them to look more realistic. So I'm looking forward to pretending I'm back in my college chem lab,
Until then, they'll probably hang like this...

Moving on.
Here's where the hardest part comes in. Measuring.
I can't really help you too much here. Your windows may be a different size, you may have hung your rods at a different height, etc.
Figure out the length you want your panel to be (from the top of the curtain rod -> down), then add about 1/2" (no less than 3/8").
The width is up to you, but beware of making them too narrow. If you're making a single panel for a 2.5" wide window (as seen above) your panel width should be significantly wider (also seen above, since I haven't yet done my pleats. Slacker.). I think for a single window panel, it's safe to say you should almost double the window width. It's not an exact science, do what feels right. That's my method (even if it doesn't make sense).
"60% of the time, it works every time."


Once you've cut your fabric to size, it's time to make sure it doesn't fray all over the damned place.
Remember how your mom taught you to stop a 'run' in your hoisery? She's a genius. Yep, go get your purse and grab your clear nail polish.

Ever so carefully, paint only the very outermost edge of the fabric. You may want to test/practice this on some scraps to find the best technique. I generally get a small drip on the brush and run the fabric edge on it from underneath. Keep a very steady hand, and your eye on the ball (of potentially disastrous permanent paint). For best results, remove all children and pets from the immediate work area.
You shouldn't put so much on that it bleeds into the fabric. It should be pretty inconspicuous when finished. See? Can't tell there's nail polish all over this unforgiving see-through fabric. But there is:

Globs do happen, which is why I made this shitty, out of focus video to illustrate how to deal with the crisis. Don't be afraid to get your hands dirty.
Sorry about that 14 seconds of your life that you can't ever get back.
Allow polish to dry before continuing. Make yourself useful and grab a beer, or something.


Next, tear a piece of masking tape the width of your panel, and choose which way is 'up' on your fabric. Depending on your print/pattern/fringe, it might matter. Stick the masking tape to the front top edge of the fabric, overlapping it by 1/16"-1/8". Again, close enough is close enough. Just keep it straight and even.
Fold the fabric over and stick the rest of the tape to the backside of the panel. When looking at the backside, you should have at least 1/4" (up to 3/8") of the 'right side of the fabric' showing above the tape on the back. This is a good time to 'measure twice' as the saying goes. Make sure that your panel length is the same across the width of the panel. Unless you are okay with crooked drapes. Not this girl.
Here's the part where you may need to fuss a bit. This is when you figure out where your grommets will go. I prefer that both sides of the panel angle towards the wall, if you feel the same way, you'll want an even number of grommets. You'll need an equal number of 3mm jump rings as eyelets per panel. Here's my best attempt at showing you how I 'measure and plot'. If you can even call it that.
 Folded in half above (crappy pic), then:

I accordion-fold the whole bit, starting at the middle to ensure an even number of spaces. I fidget with it until all of the spaces are about the same length (the ones on the ends can be a little shorter). Try to keep the spaces at least 3/8"-1/2" wide each. Once you're happy with the result thus far, make marks on the tape (I always have a Sharpie on hand, but pencil/pen/whatever) close to halfway in the middle of each space. These will serve as guides for where to punch your 1/8" holes. They don't need to be perfect, just eyeball-close. Never once have I measured these. And I have OCD. Sooo...

Break out the 1/8" hole punch. Line up with your marks and punch a hole through both layers of fabric, keeping the edge of the punch as close to the masking tape as possible with out going over. Like "The Price is Right", but with higher stakes (and better odds).


If any of the 'holes' aren't all the way punched, don't fret, but don't pull them. Use some tiny scissors (mustache shears?) or even an exacto blade to trim those pesky threads hanging on. Here's what I use because I already had them in my tool collection.
I'm sure the clear nail polish hasn't wandered off too far, you'll need it again. This time paint the hole edges on the front and back, especially if you're doing sheers. You can be a little messier/liberal with the polish here since this edge will be hidden in the grommet. Try not to stretch the holes with the applicator brush.
You should be a pro at this by now, so not too many pictures here. Again, refill your libation, sit, and watch paint dry.


Or if you're like me, start shoving eyelets through without waiting. (I have the patience of a three-year-old). Push them through the front side of the panel, then like your earrings, you're going to put a 'back' on. These keep the eyelets from pulling through the fabric when you hang them. The 3mm jump rings are a tight fit. If you do enough of these curtains in a short amount of time as I did, you'll get a rugged callus. Push them over the eyelet tube and as far as you can against the fabric (you may need to open them 1mm with pliers so they push on easier (...sissy), but you will want them to fit very snug). The voices in my head tell me that the split part of the jump ring should face downward, but it doesn't actually matter. Unless you're neurotic and inflexible.

 Sometimes I use pliers to push the eyelets as far as they'll go.

Now you'll need the eyelet setter and hammer. Home stretch!

If you haven't done this before (like me when I decided eyelets looked like mini grommets and bought the whole aisle) try a few on paper/cardstock, just to get a feel for how much hammering is required. Not rocket science. For me? About 5 taps. If you over-do it, it'll flatten the front of the eyelet which may cause undesired puckering of the fabric or result in a loss of 'grab' on the fabric. Either way, no me gusta. Take it easy, Sparky.
I also use one of these self-healing mats, because, why not?

Set all of the eyelets, and you're done.
Carefully peel off the masking tape, minding the painted edges of the fabric. Nail polish isn't epoxy.
I tend to go back over the set eyelets with my pliers and pinch down the tabs. Especially on sheer (sometimes they'll catch and make pulls on your fabric) or thick fabrics (you'll want the extra 'grab').
This isn't a necessary step, but I'm an overkill kind of girl.


If you try this tutorial and happen to write about it, please link back to my original post. Thanks!
Pleat/starch/fold/whatever as you see fit to make them look more realistic, but that's going to be another tutorial altogether for yours truly.
Tired, and OUT like the fat kid in dodgeball.
I have two more posts in the works.
Wait for it...
wait for it...

Once you've cut your fabric to size, it's time to make sure it doesn't fray all over the damned place.
Remember how your mom taught you to stop a 'run' in your hoisery? She's a genius. Yep, go get your purse and grab your clear nail polish.
 |
| Here's what I use, if you care. I trust Sally, and diamonds are a girl's best friend. |

Ever so carefully, paint only the very outermost edge of the fabric. You may want to test/practice this on some scraps to find the best technique. I generally get a small drip on the brush and run the fabric edge on it from underneath. Keep a very steady hand, and your eye on the ball (of potentially disastrous permanent paint). For best results, remove all children and pets from the immediate work area.
You shouldn't put so much on that it bleeds into the fabric. It should be pretty inconspicuous when finished. See? Can't tell there's nail polish all over this unforgiving see-through fabric. But there is:

Globs do happen, which is why I made this shitty, out of focus video to illustrate how to deal with the crisis. Don't be afraid to get your hands dirty.
Sorry about that 14 seconds of your life that you can't ever get back.
Allow polish to dry before continuing. Make yourself useful and grab a beer, or something.


Next, tear a piece of masking tape the width of your panel, and choose which way is 'up' on your fabric. Depending on your print/pattern/fringe, it might matter. Stick the masking tape to the front top edge of the fabric, overlapping it by 1/16"-1/8". Again, close enough is close enough. Just keep it straight and even.
 |
 |
| Mine ended up at 3/8" on the nose, because I've done this before. |


 | ||
| From the front of the panel. |

Break out the 1/8" hole punch. Line up with your marks and punch a hole through both layers of fabric, keeping the edge of the punch as close to the masking tape as possible with out going over. Like "The Price is Right", but with higher stakes (and better odds).


If any of the 'holes' aren't all the way punched, don't fret, but don't pull them. Use some tiny scissors (mustache shears?) or even an exacto blade to trim those pesky threads hanging on. Here's what I use because I already had them in my tool collection.
 |
| Beadsmith thread cutter |
You should be a pro at this by now, so not too many pictures here. Again, refill your libation, sit, and watch paint dry.


Or if you're like me, start shoving eyelets through without waiting. (I have the patience of a three-year-old). Push them through the front side of the panel, then like your earrings, you're going to put a 'back' on. These keep the eyelets from pulling through the fabric when you hang them. The 3mm jump rings are a tight fit. If you do enough of these curtains in a short amount of time as I did, you'll get a rugged callus. Push them over the eyelet tube and as far as you can against the fabric (you may need to open them 1mm with pliers so they push on easier (...sissy), but you will want them to fit very snug). The voices in my head tell me that the split part of the jump ring should face downward, but it doesn't actually matter. Unless you're neurotic and inflexible.


Now you'll need the eyelet setter and hammer. Home stretch!

If you haven't done this before (like me when I decided eyelets looked like mini grommets and bought the whole aisle) try a few on paper/cardstock, just to get a feel for how much hammering is required. Not rocket science. For me? About 5 taps. If you over-do it, it'll flatten the front of the eyelet which may cause undesired puckering of the fabric or result in a loss of 'grab' on the fabric. Either way, no me gusta. Take it easy, Sparky.
I also use one of these self-healing mats, because, why not?

Set all of the eyelets, and you're done.
Carefully peel off the masking tape, minding the painted edges of the fabric. Nail polish isn't epoxy.
I tend to go back over the set eyelets with my pliers and pinch down the tabs. Especially on sheer (sometimes they'll catch and make pulls on your fabric) or thick fabrics (you'll want the extra 'grab').
This isn't a necessary step, but I'm an overkill kind of girl.

 |
| Back. |
 |
| Front. |
 |
| Thank goodness these are no-sew, just envision the mess of seams otherwise... |


If you try this tutorial and happen to write about it, please link back to my original post. Thanks!
Pleat/starch/fold/whatever as you see fit to make them look more realistic, but that's going to be another tutorial altogether for yours truly.
Tired, and OUT like the fat kid in dodgeball.
I have two more posts in the works.
Wait for it...
wait for it...