You may have noticed that my last post was a bit all over the place. Apparently hobbies mimic life. I wasn't drunk (that I can recall). There was just so much going on (in real life and) with the individual pieces of the roombox, that I somewhat jumped the gun on talking about the electrical. I'm not sorry that I showed you, I just could have been more organized. Too late to change it. So if I confused you, apologies. That is the opposite of my mission here. I want to show how easy this can be. This post will be more tutorial-y for you. I know a few of you have been waiting for this one. These are the basics. The no frills bare minimum to have a tidy electrified dollhouse, along with personal experiences so someone might learn from my mistakes.
At the time I last posted, I had ordered all of the spring-loaded eyelets (and a few other items) that I needed to finish the electrical on this roombox project. I clicked publish, and the next day they showed up on my doorstep. WTF. Insanely fast shipping when I least expect it. So here we are, less than a week later and the electrical is complete. Today we're talking strictly electrical (from the beginning-ish), with a few bonus project pics at the end.
I've never tried round-wiring in miniature (except the fixtures, of course). I think that the effort isn't worth the end result when there are easier alternative options. Work smarter, not harder. Right?! Begin: my love affair with tape-wire. That's the only kind of wiring I'll be writing about here. So when I say 'tape' or 'wire', picture this stuff:

Yes, that is the wire. It lays flat against the wall/floor/ceiling, it's peel-and-stick adhesive backed, and it's "paintable". Let's talk about that.
They (Cir-Kit Concepts) have made the exposed side of the tape compatible with most primers and paints. That being said, affirmative, primer and paint will indeed stick to the tape. That hides the color only. Not the fact that it looks like you painted over the painter's tape, but never removed it. You can see the texture of the tape, no matter how many coats you slap on.
They (Cir-Kit Concepts) have made the exposed side of the tape compatible with most primers and paints. That being said, affirmative, primer and paint will indeed stick to the tape. That hides the color only. Not the fact that it looks like you painted over the painter's tape, but never removed it. You can see the texture of the tape, no matter how many coats you slap on.
 |
| Shown with a 'pound-in' outlet for plug fixtures (table and/or floor lamps, lanterns, etc.). |
 |
| This is a spring-loaded sconce outlet. It's a flush mount when used with the sconce adapters from Cir-Kit. |
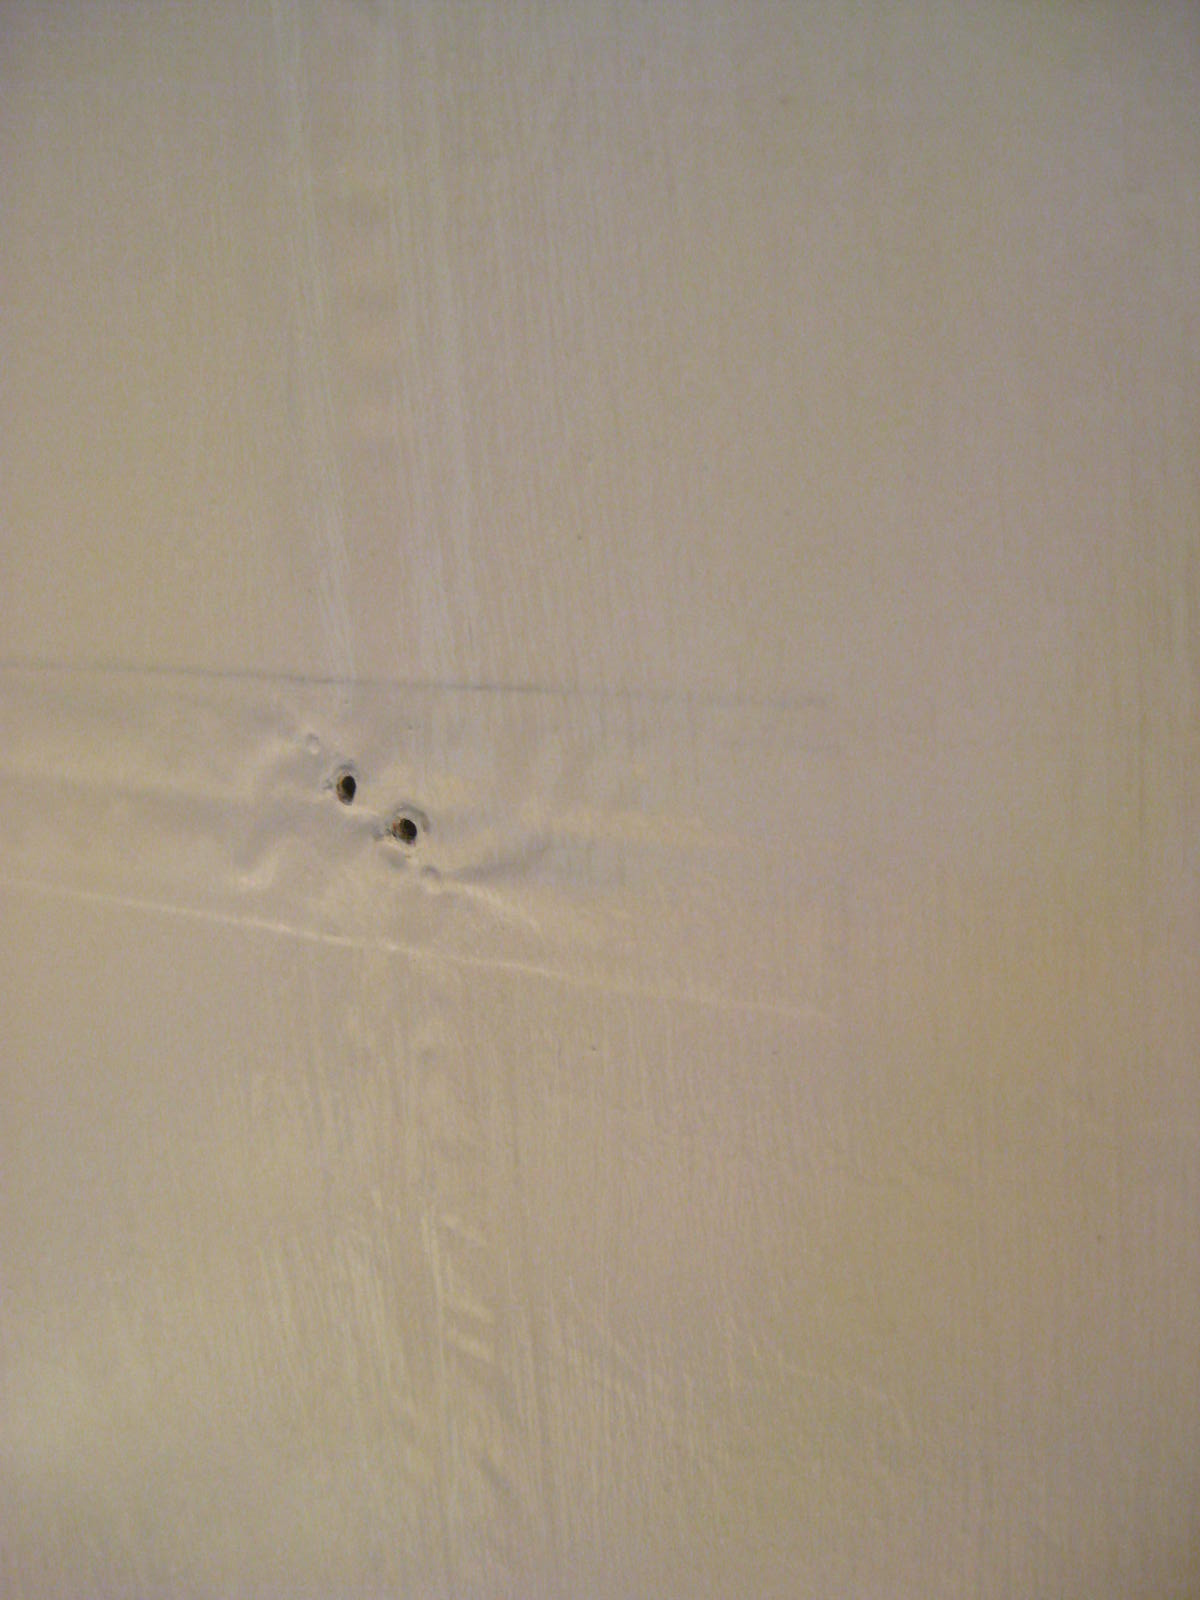
In the roombox (above), I tried to minimize the prominence of the tape-wire ends by sanding them down with 4000 grit finish paper. It's all I had for super-fine grit, and it worked pretty well. I despise the puckering of the wire coating under the paint. It's out of my control.
 |
| Exhibit A, flat paint. If you look closely near the sconces you can see the wires. |
 |
| See? |
 |
| Especially when the lights are on. |
So my advice here would be:
1: If you must use paint for the wall finish, choose a flat paint. This will minimize the visual imperfections.
2: Forget about number 1, and just submit to the fact that you'll be happier with papered walls. I have.
In the roombox, I knew that I would be putting up and taking down paper all the time. The roombox is for staging purposes, so it has to be versatile. That's why I went with a gloss white on the walls. They're never going to be photographed naked (this place is already classier than any Kardashians). Adhesives generally don't stick well to gloss paint permanently. The gloss will clean up easily, and make putting paper up and down a snap. Not to mention that I'll be making templates of the walls so I can just trace/cut paper to size in a minute or two and know exactly where my electrical connections are behind it. Like magic.
One of the first big decisions in wiring (after you've gotten through the no-brainer of choosing tape-wire), is which transformer to purchase (I have two CK1009C transformers). That all depends on how many fixtures you plan on running simultaneously. I run all fixtures in my dollhouse together since I didn't install any switches. It's either all of the lights or none of them. It's not like the tiny inhabitants have an electric bill coming in every month. You'll want to buy a big enough transformer to handle the load. Unless you're working in 1:24 or smaller, don't buy anything that says 1.5V on it. Not compatible. I'm only working in 1:12 here. I've posted this before, but here is the guide from Cir-Kit:

Scraped from Cir-Kit Concepts' website. '*' indicates built in breaker.
There are a few different starter kits out there, and they have all of the same components (to my knowledge), except for the transformer size. If I had it to do all over again, I'd have still bought the same kit last year. Normally these kits include:

-transformer with lead-in wire
-junction splice
-tape wire
-test probe
-brass eyelets and brads
-drill handle with #55 bit and pilot hole punch
-a manual
The manual is not just for decoration, folks. It is very helpful, and teaches you all of the basics. Don't be a man and throw it away without looking at it, then get pissed and wonder why shit doesn't work. Read it front to back. And never be afraid to ask for directions if you need them, big guy. I'm available through e-mail if you can't figure something out, or have a unique wiring situation and want help brainstorming solutions.
If you've bought a kit, rad! Here's where I hug you and tell you it's all going to be ok. It only looks daunting, and it only sounds scary. You aren't going to electrocute yourself. It's all very low voltage. I've touched live connections. (Clearly still pink, warm, and breathing as I type at you). A glass of wine would give me more of a buzz, and trust me, I've developed a tolerance. You don't need to turn breakers off to work on this, so chill out. Chances are, there's a circuit breaker built into your transformer anyway.
Here are some basics about the electricity you're working with and a few first steps to achieving the miniature electrical dream.
You may have noticed that the tape wire has two lines. A pink and a blue. These are very thin copper foils. One is for electricity coming in, and one is for electricity going out. You'll always connect pink to pink, and blue to blue. There are no ground wires to worry about. It's as easy as breathing. Electricity in one color, out the other. In and out. So simple. You don't even need to know which color is in, and which color is out. It doesn't matter. Just don't go connecting opposite colors together. If you're colorblind, well, I hope you have a patient friend or spouse to assist you. The plugs/adapters all have two wires/prongs as well. Again, it makes no matter which prong goes in which outlet hole so long as one prong meets pink and the other meets blue.
The first decision you'll need to make is where you want the lead-in wire to attach to the structure with the junction splice.
 |
| Dollhouse configuration. |
 |
| Roombox configuration. |
I try to choose inconspicuous locations on the outside. You'll start running your tape wire from there to the inside of the house and, as mentioned in previous posts you'll want to map out the path of the electrical in pencil to make planting the wires easier. I tend to put the junction splice on the longest uninterrupted length of tapewire in the house (I call this the 'feeder line').
So stick down a few inches of wire at your desired splice location and simply hammer the thing into the wires making sure one prong is making contact with each color. I've never had a poor contact on the first try. Plug in the lead-in wire (you may have to attach it to the transformer yourself) and use the test probe to check for power down the line. Don't be shy, you'll need to pierce the plastic coating on the wires and make contact with the copper to know if you've got power. These little holes will have no effect on the competence of the wires later. Once the probe lights up, you can fasten the little screw on the junction splice and continue on with the application of the wire. If the probe doesn't light up, try the following before re-placing the splice:
1. Is your transformer plugged in?
2. Is it plugged into an outlet that runs on a wall switch, and is the switch off?
3. If there's a rotary switch on your lead in wire, turn it. Try the probe again. If it still doesn't work...
4. Hell if I know. Try removing the splice and re-hammering it into fresh wire nearby.
 |
| Test probe, unlit, the switch on the lead-in wire was in the off position. |
 |
| Shazam! Switch turned on. The world makes sense again. |
 |
| Holes in the tape from the test probe are OK. As many as you need without completely fracturing a wire. |
Repeat the steps until that test probe lights up. You don't want to go any further until you know if the tape-wire is receiving power.
Once you have an electrified line you can lay the rest of that length and when you get to a stopping point, snip it. Stopping points are generally anywhere that the wire would need to make a turn, or go no further. The wire can wrap around walls, bend in corners, etc. So there are less connections to make than you may think. Also, you can use any operational line as a feeder line to a new location. So don't feel like you have to run everything off the original feeder line.
To make a connection from a feeder line to an additional route, do the following:
 | ||||
| In the dollhouse bathroom, I wanted sconces and outlets near the sink. |
Lay your new line where you've decided you want power, making sure to overlap the new wire on top of the feeder line (above photo). Then you can use your pilot hole punch to plot where you'll place your brads. This isn't necessary, but makes it easier if you don't have steady hands. You'll be able to see where pink wires and blue wires overlap each other. Where pink meets pink, poke two small spots in the top wire. You'll want to keep these holes as small as possible to ensure the best connection. Carefully hammer one brass brad in each hole, and repeat this process between the two blue wires as well. It's recommended that these are hammered in at an angle, which is hilarious, since they're 1/8" long. I use needle nose pliers to hold the brad while I tap it in. If you want to use your fingers instead of pliers, good luck... knock yourself out, but don't come crying to me. You can use the eyelets at connections too, but this is a bit more time consuming and labor intensive. Which means I said no. Obviously.
.JPG) |
| Pilot hole punch tool, included in my fist kit. |
 |
| Four neat and very small pilot holes. |
 |
| 1/8" Brass brads. So teensy. |
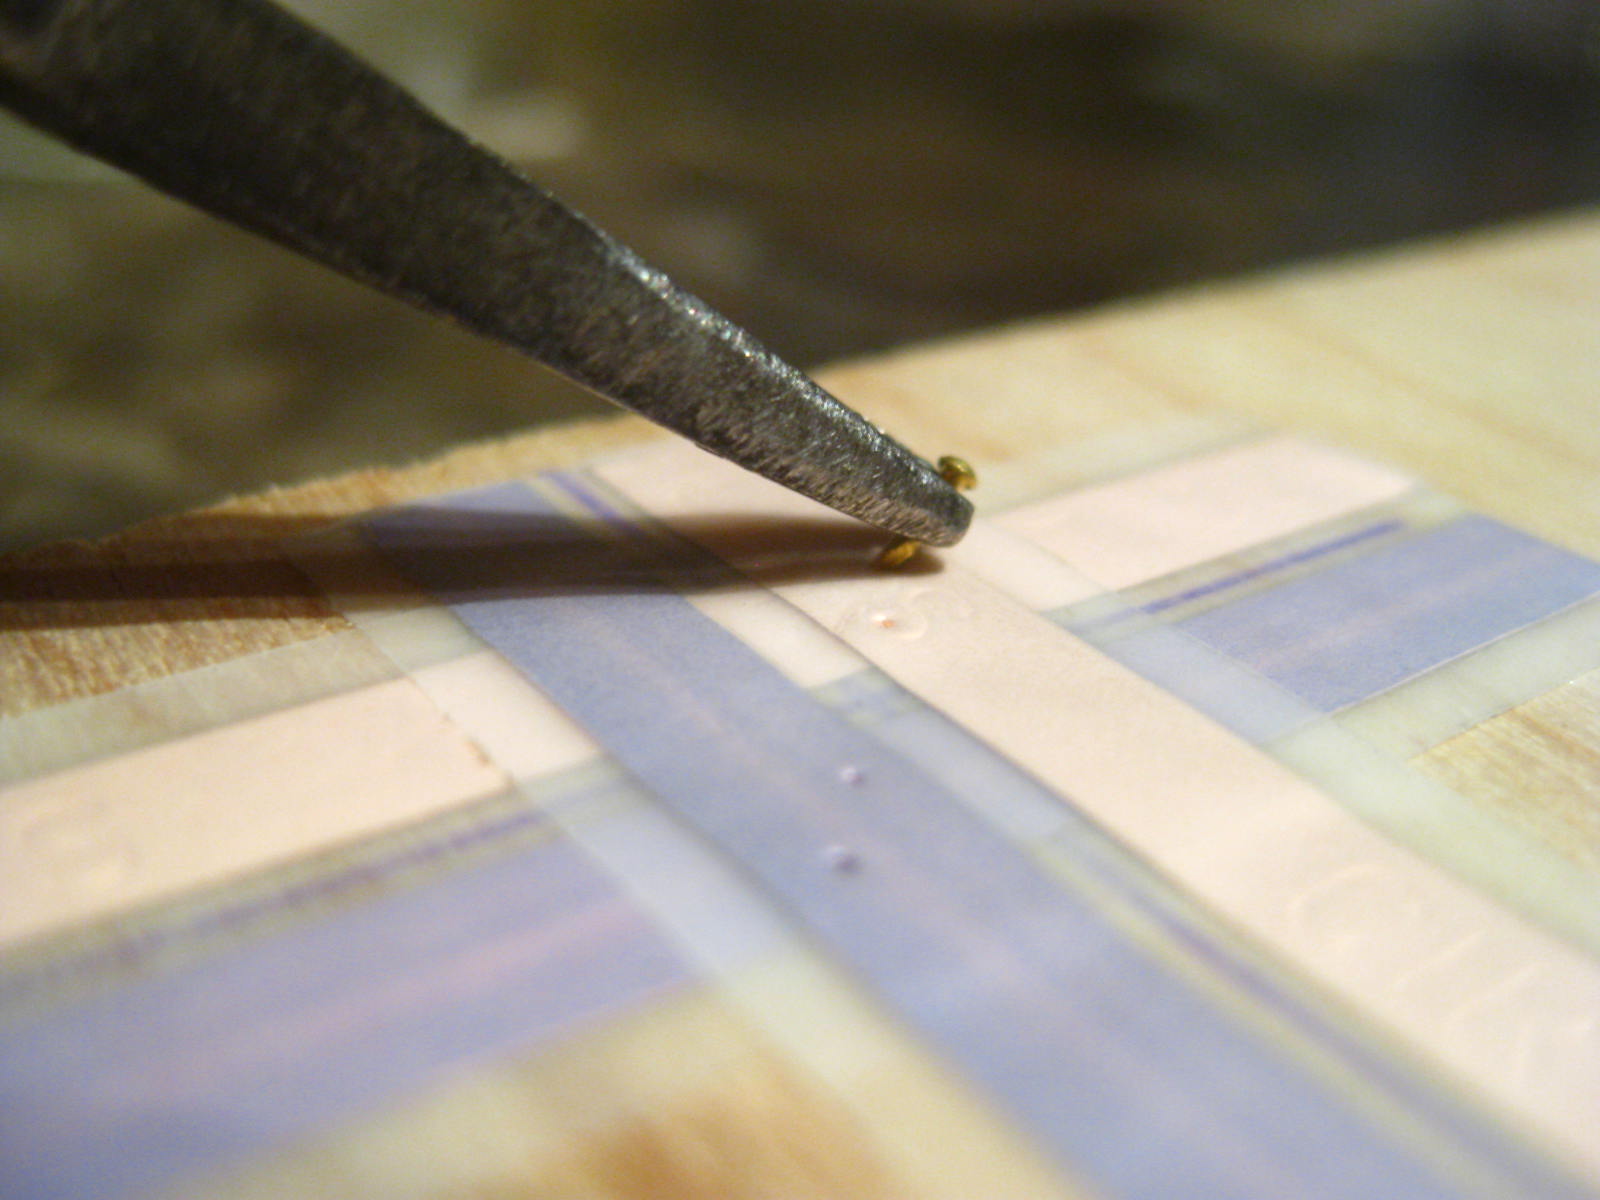 |
| Placing the brad at an angle will increase the likelihood of excellent contact between brad and wire. |
 |
| Fully functional connection. Note the pencil lines. Neat and tidy. Ready to be slathered in paint. At least I know how clean it looks under there. |
Note: if you require more brads, buy the brass ones. There are cheaper silver colored versions but the brass is better for the longevity of your system. I read somewhere when I started (sounds legit.) that the brass brads actually bond with the tapewire with use over time, further strengthening the connections. The cheaper versions may work fine at first but acually end up corroding in the long run. I've got no time for a headache like that.
Once you get the brads/eyelets in, grab that trusty test probe and check the new line for power.
Once you get the brads/eyelets in, grab that trusty test probe and check the new line for power.
Continue this process until there are working lines everywhere you need them. Then you can install outlets and eyelets for the actual lights to plug into.
The outlet pictured at the beginning of this post (for the sake of not scrolling all the way back up, here it is again) you can usually pick up in a pack of four for about $5USD.
These are simply placed at the desired location on the tape-wire (one prong per copper strip, as is the usual rule) and hammered into place. Even through paint, the connection will likely still be functional (mine always are) so you don't have to paint around them. I always install these post-paint, pre-wallpaper. Personal preference strikes again.
So there's simple tape-wiring in a nutshell, and the basics to get you electrified. I'll talk more about eyelet installation next post, which should be the big roombox reveal (not counting exterior finish).
Some teasers until then:


Fireplace is coming along. I need more rocks so I'll hit up my favorite local beach this weekend (Yay, no more tourists!).
.JPG)
Soon, this will be explained as possibly the most terrifying moment in roombox construction history.
I hope this was at least mildly helpful. Until next time. Stay classy.